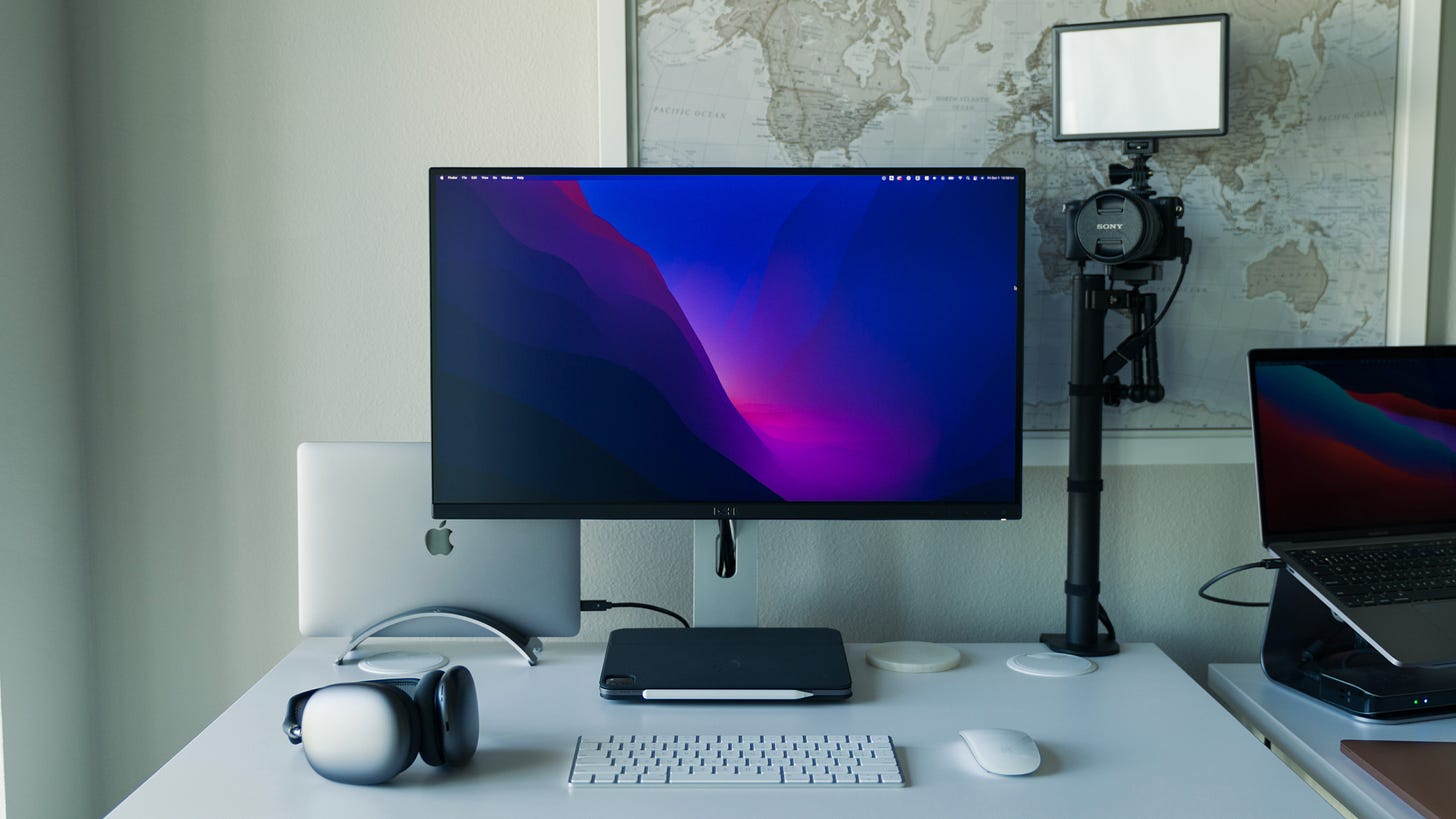
Making remote videos is a new and different idea for a lot of people. Back in August of 2021 I talked all about what remote filmmaking is and why it is more relevant than ever. Since then I have released a four part docu-series – created remotely, consulted for companies on the topic, and created a Skillshare course about how to create a remote film. One of the subjects that comes up regularly is the gear – what do I use, what do I recommend? Today’s letter might get a little technical, and nerdy, but you might find the next tool or service to help you produce remotely.
As always, when talking about gear, I have to say – the gear is not as important as the craft. When shooting remotely, you don’t always have control over the subjects tools, so you have to know how to make the most out of what they have. Some of the gear mentioned below does have an affiliate link.
First off, the camera. What should you do the actual filming with? If budget is not an issue, I recommend shooting right into a DSLR. This will allow the best quality image but it also adds complexity. The talent needs to know the basics of a camera to be able to take your direction. I have been in the Sony camp for a while but any DSLR will do. Here are examples of participants from my film shooting into their DSLRs.
Talin Wadsworth used a Fuji
Joshua Martin used a Z Cam
Both of these participants shot with a DSLR, right into the camera – meaning recorded to an SD card. This provides the best quality the camera can produce, depending on their settings. If a DSLR is not an option, I recommend using a phone or webcam. Once you get into the webcam and phone realm there are a few different things to account for, but the key here is that they lock their settings. If the camera is set to auto anything, the image will change often during the recording. My DSLR recommendation is the Sony A6400 and my webcam recommendation is the Logitech Brio, until the Opal C1 is released. As a last ditch effort, you can use the potato webcam that is in most desktops/ laptops, but the key here is lighting – which is up next.
Lighting is a piece of gear and a technique/ skill. I am not going to get into the skill too much, but the gear itself is straightforward. First, don’t use a ring light! They are low quality lighting that is hot, hard light, and only flattering in a specific use case. Using a window is also not a good choice unless you know how to work and shape the light. I recommend using a soft LED panel. It does not have to be anything expensive. I own somewhat expensive lights, but what I use for remote films and video calls are Viltrox key lights. They are low cost, fairly color accurate, and don’t get hot. If you have more of a budget and want something better quality and utility, the Elgato Key Light is great.
The key here is that the light is steady – no flickering or changing of brightness or color, and it is flattering for most situations. Of course, positioning and intensity are important too, but that is for another letter. Lighting is always important, but more so when the camera sensor is small, such as a webcam or phone camera. So if budget or comfortability with cameras are issues, opt for a simple camera with a good light source. See what a webcam with a good key light looks like below.
Next up is audio. Audio is something that generally comes last to mind when thinking of camera gear, but this is furthest from what you should do. Audio is one of the most important pieces of your story. Having good source audio is essential. The biggest takeaway here is not to use the microphone in the computer or camera as the source audio. Use a separate source, close to the subject with the gain turned down. Using a dedicated USB or XLR mic is great, but if that is too much friction, wired or wireless headphones sound fine. A simple tried and true option is a Blue Yeti. It’s easy to use and gets good audio. I do recommend using a boom arm though, as it does pick up vibrations easily. Additionally, don’t have your subject talk right into it, angle it to prevent pop or plosives.
Lastly, we need to discuss storing or capturing this video and audio. This is less gear and more tech. If your talent can record themselves right into their camera and computer with confidence, please do that, you’ll get the best quality. If they seem hesitant at all I recommend recording into a web tool such as Zencastr or Welder. This will record a copy directly to their computer then sync it to the cloud for your use. If you use a tool such a Zoom recording, this is cloud first and the standard issues of compression, buffering, etc come into play. Again, record to the camera, phone, or computer if possible, and if not – a local-first tool.
If you want to go deeper on this subject with me I do have a full Skillshare course where I go through all steps of creating a remote film, including gear. If you have some specific questions or use cases, I can help you through that, just comment below. And if you want help with remote filming at a grander scale, maybe for your business, I do consult on the topic.


